The site decision and observation unit
This guide examines thermal observation context when a mapping team needs to compare cereal-field patches at equivalent developmental stages. The goal is to connect a specific technical choice to observable site evidence, an independently checkable comparison and a clear delivery decision.
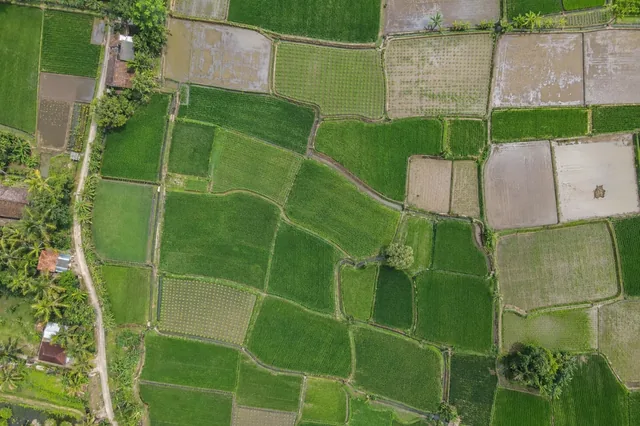
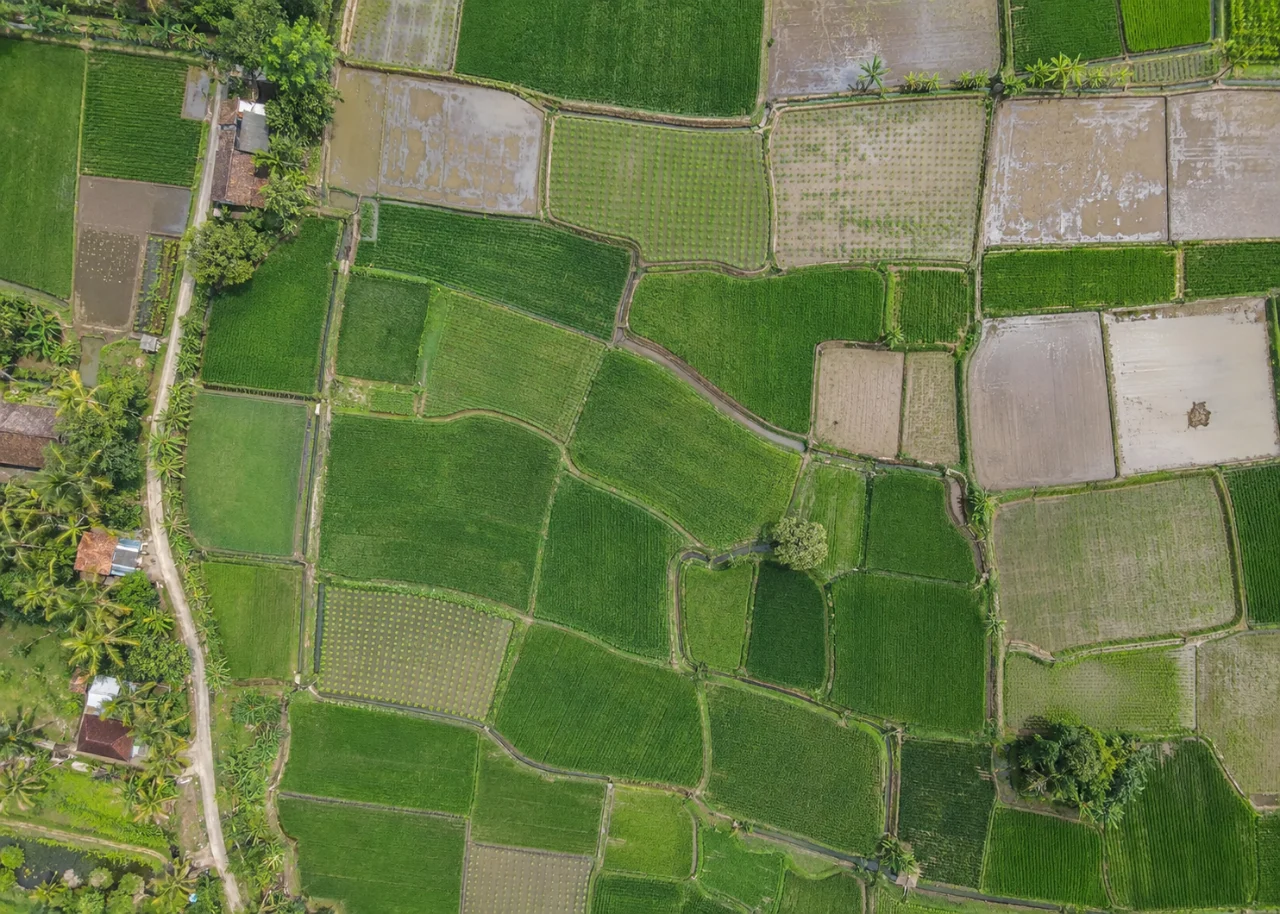
Define crop blocks, headlands and tramlines before summarizing the imagery. A useful cereal map separates crop interiors from traffic patterns and records development stage. Canopy texture, visible lodging and patch continuity can guide inspection, while the management question determines whether a small feature matters operationally. Keep observations linked to the actual survey date rather than an assumed seasonal average.
Define the decision before choosing a processing configuration. State the target object, the observable surface, the required geographic reference and the evidence needed by the receiving user. Separate direct observations from inferred values. This prevents an attractive image from becoming an unsupported claim about conditions that the sensor did not observe. Preserve the project question in the run record so later quality review evaluates the intended use rather than a convenient software statistic.
The technical mechanism
Thermal imagery records a sensor response related to emitted and reflected radiation, not an unqualified object temperature. Emissivity, reflected surroundings, viewing geometry and atmospheric conditions affect interpretation. The acquisition window and sensor preparation matter when comparing targets. An RGB orthomosaic cannot substitute for thermal observations, even when a visible feature appears warmer or darker to the eye.
Site conditions that can mislead interpretation
Ripening changes color, low sun emphasizes tramlines and wind creates moving texture. A classifier can confuse mature crop, sparse cover and recently disturbed ground. Elevation over a dense cereal canopy usually represents the visible canopy surface. Comparing different stages or lighting without controls can turn ordinary phenology into an apparent treatment response.
A thermal contrast is not a unique diagnosis of equipment failure, water stress or another cause. The physical context and independent assessment determine the interpretation.
Prepare the inputs and the controlled test
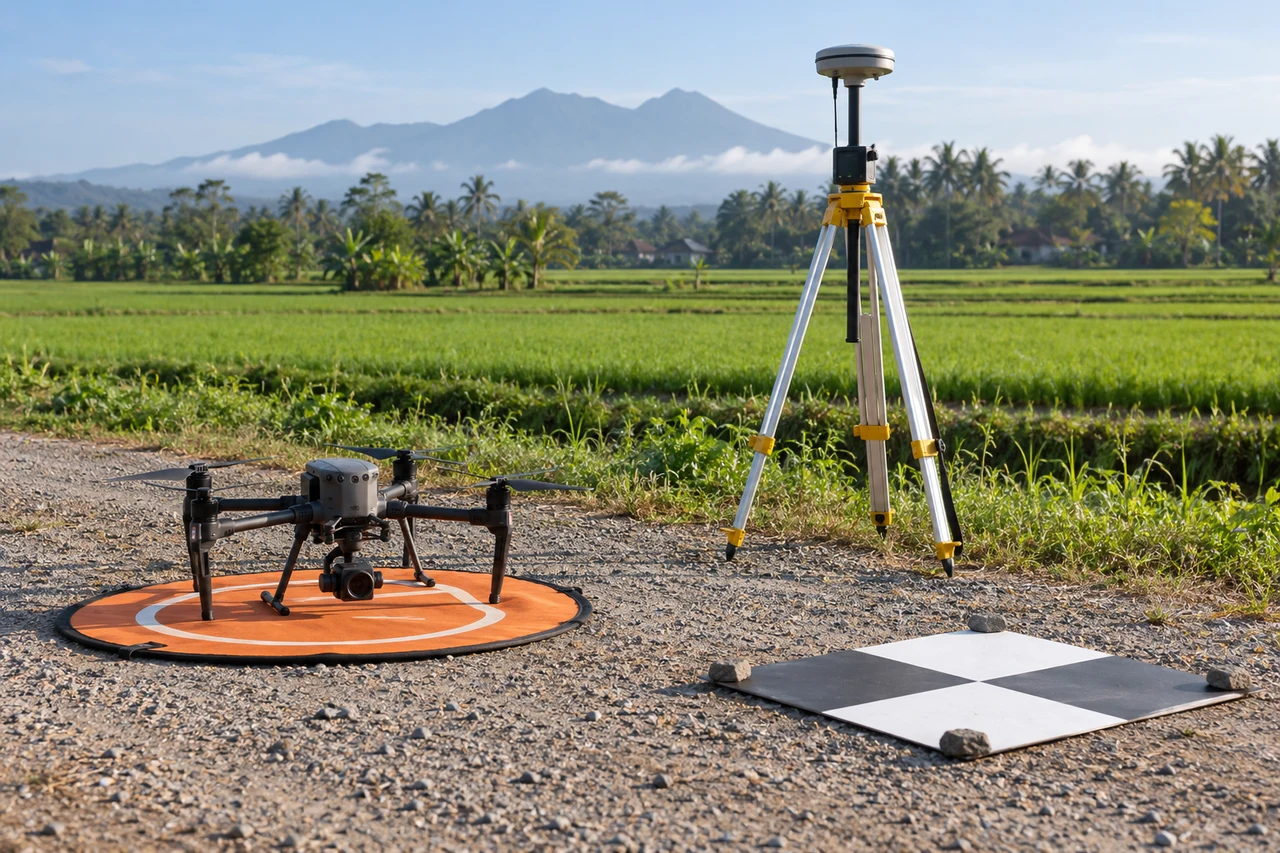
Define whether the objective is relative anomaly screening or a calibrated temperature estimate. Preserve sensor metadata, preparation records and environmental observations. Check target visibility and thermal-to-visible alignment. Use suitable reference observations and a representative short collection before extending the interpretation to an entire site.
Build the comparison around a preserved baseline. Use the same input inventory, geographic extent and independent reference observations whenever the experiment permits. Change one justified factor at a time and record any unavoidable difference. Select both a difficult inspection region and a stable control region before examining the candidate output. Compare on their common valid support, then report any gain or loss of total coverage separately. This distinguishes a local improvement from a result that merely excludes the hardest observations.
Independent verification in this setting
Use field observations in both unusual patches and representative crop. Record stage, cultivar and recent traffic or harvest activity. Inspect the transition between lodged and standing crop rather than checking only patch centers. If repeated mapping is planned, retain observation identifiers and compare the same units under an explicitly stated seasonal interpretation.
Compare anomalies with appropriate field evidence and inspect ordinary comparison targets. Review reflections, shadow transitions and changing operating conditions. Keep thermal and RGB products distinguishable in the release. State whether each conclusion concerns a relative pattern or a supported physical temperature measurement.
A linked check: Training and Validation Separation
A classification must be evaluated on observations independent from those used to develop it. Nearby pixels or fragments of the same object can share texture and context, so a random pixel split may exaggerate generalization. The intended use determines whether validation should separate objects, blocks, dates or sites.
Define the target classes and the unit of independent evaluation before selecting samples. Preserve identifiers linking labels to their source evidence. Separate development and evaluation locations at a meaningful spatial or operational level. Include difficult boundaries, rare classes and ordinary negatives rather than constructing an artificially easy test set.
Report class-specific errors and the population represented by the sample. Inspect both false alarms and missed targets. Keep the validation labels fixed while comparing candidates. If the model is revised after examining the test, retain another suitable independent assessment for the resulting claim.
An illustrative decision example
Imagine an illustrative classification that identifies unusual patches successfully in the clear interior of a site but performs poorly in shadow and mixed boundaries. A test restricted to the easiest interior examples will overstate its usefulness for operational inspection. Evaluate the relevant observation conditions separately and include ordinary unflagged areas so missed targets can be investigated. Where a spectral or thermal contrast is involved, preserve the calibration and environmental context before assigning a cause. A field visit may show that similar image patterns have different explanations. Keep the observation, candidate interpretation and verified finding as separate records. This example supplies no accuracy percentage or measured site result. It shows why a useful remote-sensing product needs an independently defined target, representative evaluation and a clear uncertainty class rather than a complete-looking map that assigns every pixel an unjustified confident label.
Interpret uncertainty before accepting the result
Write the acceptance rule before selecting the most attractive output. The actual threshold must follow the project purpose and the quality of the independent evidence. Inspect signed differences and spatial patterns as well as summaries. Investigate consequential outliers using their source observations instead of deleting them to improve a score. A result can be suitable for inspection planning while remaining unsuitable for a more demanding engineering or quantitative claim. State that intended-use boundary explicitly.
Deliver evidence that the next team can use
Deliver mapped patch classes, uncertain margins and a short scouting route. Keep any production estimate separate from the image interpretation. The handover should explain how headlands and tramlines affected the denominator so block comparisons remain reproducible.
Keep the accepted source dates, processing version, coordinate conventions, masks and reference evidence beside the delivered data. Reopen a representative output from a clean copy and confirm that the intended receiving application interprets it consistently. Identify any remaining unsupported areas and the additional observation that would resolve them. The next analyst should be able to reconstruct the decision without depending on a temporary browser session, an operator recollection or a file whose name merely says final.
Where a cloud workflow can help
Online Photogrammetry Software can simplify the transfer from an organized image collection to a shared review workflow, but it does not remove acquisition or validation responsibilities. Drone Collab can be considered as part of that workflow after the team checks the current published capabilities and the outputs required by the project. Start with a representative collection and evaluate the evidence, usability and handover together. Choose the workflow because it supports a defensible decision rather than because one preview looks particularly polished.