The site decision and observation unit
This guide examines terrain-following capture when a mapping team needs to identify riverbank features that merit repeat survey or field inspection. The goal is to connect a specific technical choice to observable site evidence, an independently checkable comparison and a clear delivery decision.
Divide the river into reaches and distinguish bank faces, exposed bars, vegetation and open water. Water level affects the visible bank height and bar extent. Stable reference features are needed to compare dates. The mapping question should specify whether it concerns a visible bank edge, exposed surface or an access issue.
Define the decision before choosing a processing configuration. State the target object, the observable surface, the required geographic reference and the evidence needed by the receiving user. Separate direct observations from inferred values. This prevents an attractive image from becoming an unsupported claim about conditions that the sensor did not observe. Preserve the project question in the run record so later quality review evaluates the intended use rather than a convenient software statistic.
The technical mechanism
Terrain following aims to manage camera-to-surface distance as elevation changes. A reference terrain model may differ from current exposed ground and from the top of vegetation or buildings. The acquisition plan must account for its source, resolution and vertical convention. A consistent nominal distance is useful only when the reference surface and operational constraints are understood.
Site conditions that can mislead interpretation
Overhanging vegetation hides the bank, flowing water lacks stable texture and steep faces may be poorly observed from a nadir-only flight. A changing waterline can look like lateral erosion. Reconstructed points spanning a gap do not establish the geometry of an unseen bank surface or riverbed.
An outdated or mismatched elevation reference can preserve a consistent error. Terrain following does not establish visibility of ground hidden by canopy or overhangs.
Prepare the inputs and the controlled test
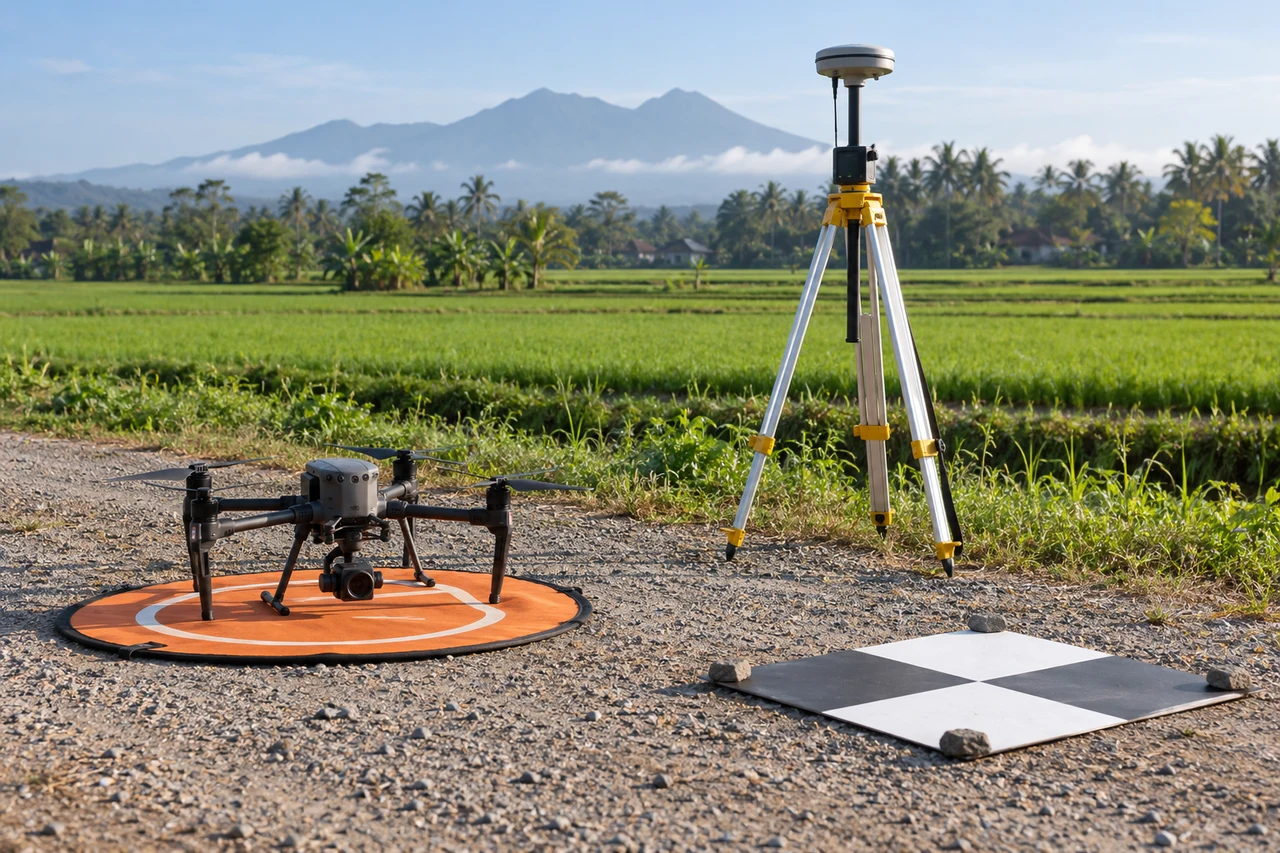
Compare the planning surface with recent known site conditions and identify the most consequential discrepancies. Distinguish terrain height from canopy or structure height. Review the planned profile and actual recorded camera positions. Use a short controlled capture to check sampling and coverage across the strongest relief before extending the same assumptions to the whole site.
Build the comparison around a preserved baseline. Use the same input inventory, geographic extent and independent reference observations whenever the experiment permits. Change one justified factor at a time and record any unavoidable difference. Select both a difficult inspection region and a stable control region before examining the candidate output. Compare on their common valid support, then report any gain or loss of total coverage separately. This distinguishes a local improvement from a result that merely excludes the hardest observations.
Independent verification in this setting
Inspect representative bank segments and record water-level context. Use independent stable checks outside the changing surface where possible. Compare only the features defined consistently on both dates. Mark obscured faces and inaccessible field locations explicitly instead of extending a confident line through unsupported areas.
Inspect original image scale and reconstructed support at high and low locations. Check whether the recorded flight maintained suitable camera distance without losing boundary coverage. Preserve the planning elevation source and any corrections. Evaluate the resulting map using independent observations rather than assuming a terrain-following setting establishes uniform accuracy.
A linked check: Independent Checkpoint Design
Independent checkpoints evaluate geometry without participating in the adjustment being tested. Their reference quality, distribution and feature identification affect the result. Points used as control cannot simultaneously provide an independent accuracy assessment of that same adjustment. A useful design covers the conditions relevant to the delivered product rather than clustering checks on the easiest accessible surface.
Define the intended horizontal and vertical checks before processing. Separate control and checkpoint identifiers and preserve their observation methods. Choose visible stable targets distributed across meaningful terrain and acquisition conditions. Document reference uncertainty and any target-identification limitations. Keep withheld points withheld during the comparison.
Inspect signed residuals, spatial patterns and outliers with their evidence. Investigate mistaken identification or changed targets rather than removing inconvenient points automatically. Compare candidates on the same independent set and report exclusions with reasons. Present the reference method so the residuals are not interpreted more precisely than the check observations allow.
An illustrative decision example
Consider an illustrative pilot mission with a nominal image footprint one hundred metres wide. If the distance to the visible surface falls by one fifth while the camera remains unchanged, the footprint also becomes approximately one fifth narrower under the same projection assumptions. A line spacing that worked above lower ground can therefore leave less shared surface over a taller canopy or structure. The practical response is to inspect the limiting part of the site and revise the actual capture geometry, not simply to copy the overlap percentage from an earlier mission. Keep the example separate from an operational flight instruction: the real plan also depends on the aircraft, target visibility and applicable site constraints. After a revised pilot, compare sharp target detail and connection across neighboring views. Accept the plan only when the recorded observations support the intended product. The calculation explains sensitivity to camera distance; it does not predict positional accuracy or guarantee that an obscured target becomes visible.
Interpret uncertainty before accepting the result
Write the acceptance rule before selecting the most attractive output. The actual threshold must follow the project purpose and the quality of the independent evidence. Inspect signed differences and spatial patterns as well as summaries. Investigate consequential outliers using their source observations instead of deleting them to improve a score. A result can be suitable for inspection planning while remaining unsuitable for a more demanding engineering or quantitative claim. State that intended-use boundary explicitly.
Deliver evidence that the next team can use
Release reach identifiers, observable bank features and candidate change zones. Preserve uncertainty and the observation dates. Engineering or erosion-rate conclusions require suitable repeated measurements and context beyond one attractive aerial mosaic.
Keep the accepted source dates, processing version, coordinate conventions, masks and reference evidence beside the delivered data. Reopen a representative output from a clean copy and confirm that the intended receiving application interprets it consistently. Identify any remaining unsupported areas and the additional observation that would resolve them. The next analyst should be able to reconstruct the decision without depending on a temporary browser session, an operator recollection or a file whose name merely says final.
Where a cloud workflow can help
Online Photogrammetry Software can simplify the transfer from an organized image collection to a shared review workflow, but it does not remove acquisition or validation responsibilities. Drone Collab can be considered as part of that workflow after the team checks the current published capabilities and the outputs required by the project. Start with a representative collection and evaluate the evidence, usability and handover together. Choose the workflow because it supports a defensible decision rather than because one preview looks particularly polished.